
How do you set up a secure file sharing system using a Synology DS218j and SMB protocol?
In today's digital landscape, safeguarding your data while ensuring seamless access is paramount. Synology NAS devices, such as the DS218j, offer a robust solution for secure file sharing. Leveraging the SMB protocol, you can create a well-structured, reliable, and efficient file sharing system. In this article, we will guide you through the process of setting up a secure shared folder system using a Synology DS218j, focusing on SMB protocol integration.
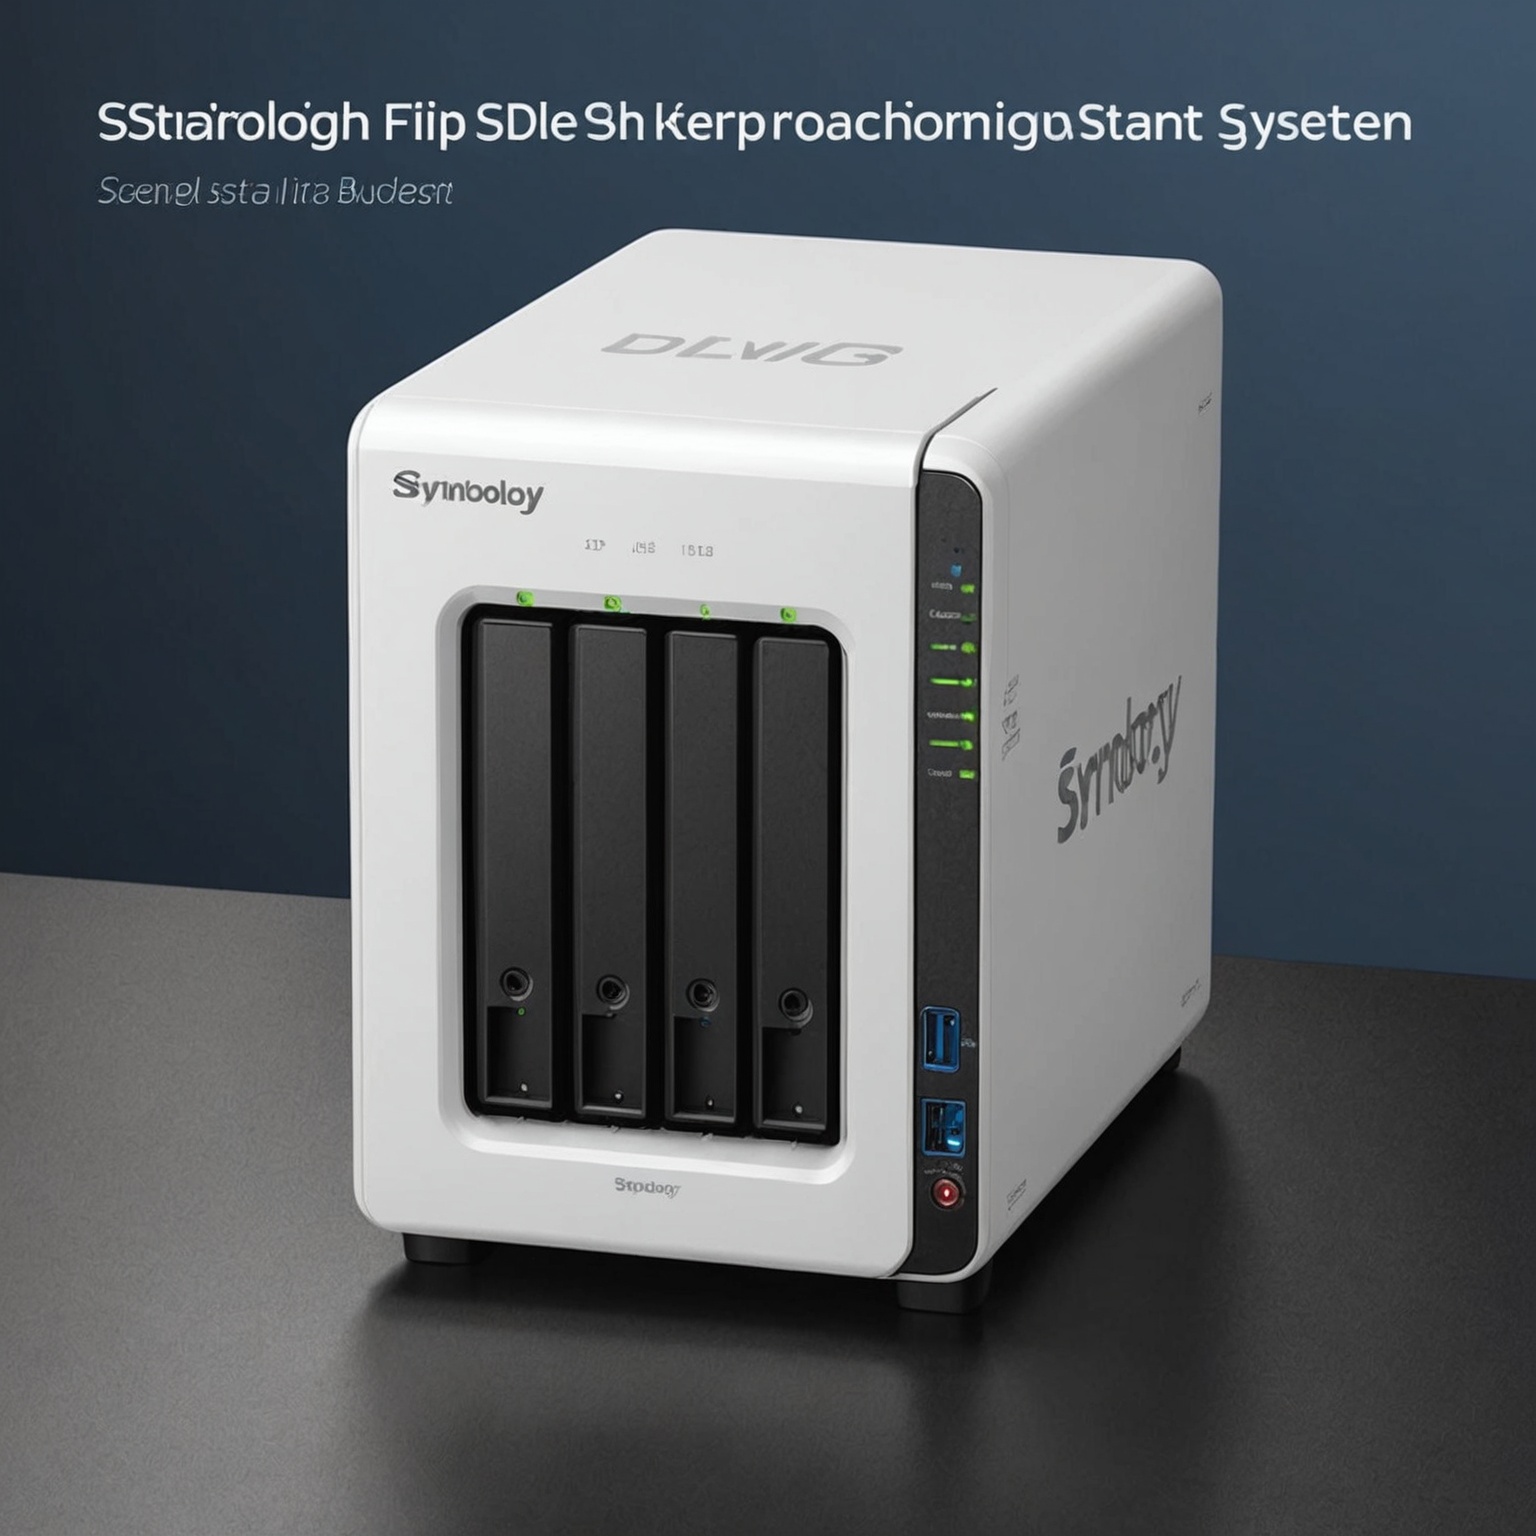
Understanding the Synology DS218j and Its Capabilities
Before delving into the setup, it's essential to understand the capabilities of the Synology DS218j. This NAS model is designed to cater to both home and small office environments, boasting a two-bay configuration that allows for flexible RAID setups. Synology DiskStation Manager (DSM), the intuitive operating system, provides a user-friendly interface with extensive features.
A lire aussi : What are the recommended settings for configuring a high-resolution monitor for photo editing on a Dell XPS 17?
The DS218j supports various file systems, including ext4, making it suitable for different backup and storage needs. Whether you are using Windows, Mac, or Linux, the DS218j ensures compatibility and smooth operation. Additionally, this NAS device supports video transcoding, enhancing multimedia experiences.
Synology NAS models like the DS218j use SMB, a network protocol designed for file sharing over a network. This protocol, commonly utilized in Windows environments, is also supported by macOS via the AFP and Time Machine backup features. By opting for SMB, you benefit from its wide compatibility and robust security features.
A lire en complément : What are the steps to install and configure an external GPU (eGPU) on a MacBook Pro using a Razer Core X Chroma?
Initial Setup of Synology DS218j
The first step in setting up your Synology DS218j involves the initial configuration. Begin by unboxing your NAS device and connecting it to your network using the provided Ethernet cable. Plug it into a power source and turn it on. Once powered up, use a computer connected to the same network to access the DSM interface.
Open your web browser and enter "find.synology.com" or use the Synology Assistant software to locate your NAS. Follow the on-screen instructions to install the latest DSM version. This process includes setting up an admin account, choosing your preferred RAID configuration, and initializing the disk(s).
It's crucial to configure your RAID setup based on your needs. For instance, RAID 1 offers redundancy by mirroring data across both bays, ensuring data protection in case of a disk failure. Alternatively, RAID 0 provides enhanced performance by striping data but lacks redundancy. Choose the setup that best aligns with your data security and performance requirements.
Once DSM is installed and your RAID configuration is complete, you can proceed to create shared folders and configure SMB settings.
Creating Shared Folders and Configuring SMB
With your Synology DS218j set up, the next step involves creating shared folders and configuring SMB settings. This process enables you to organize your files and ensure secure access for authorized users.
-
Create Shared Folders:
- Log in to DSM with your admin credentials.
- Navigate to the Control Panel and select Shared Folder.
- Click on Create, then follow the prompts to name your shared folder and assign it to a volume.
- Adjust permissions to control which users can access and modify the folder. You can set read/write or read-only access based on user roles.
-
Configure SMB:
- Go to File Services in the Control Panel.
- Enable SMB by ticking the checkbox. You can also configure additional settings like SMB protocol version, security options, and advanced settings.
- Ensure that the SMB protocol is compatible with your network devices. SMB 3.0 provides enhanced security features and performance improvements over earlier versions.
- Apply the settings to activate SMB on your Synology NAS.
By creating shared folders and enabling SMB, you establish a structured file sharing environment. Users can now access shared data securely, fostering collaboration and efficiency.
User Management and Permissions
Effective user management is crucial for maintaining a secure file sharing system. Synology DSM allows you to create and manage user accounts, ensuring that each user has access to the necessary resources without compromising security.
-
Create User Accounts:
- In the DSM Control Panel, navigate to User.
- Click on Create and enter the required user information, including username, password, and email.
- Assign users to groups based on their roles (e.g., admin, staff, guest). This categorization simplifies permission management and enhances security.
-
Set Permissions:
- Define permissions for each shared folder by selecting the folder and clicking on Edit.
- Navigate to the Permissions tab and assign read/write or read-only access to users or groups.
- Utilize advanced permissions to set detailed access controls, such as folder visibility and file modification rights.
-
Enable Two-Factor Authentication (2FA):
- For added security, enable 2FA for user accounts. This feature requires users to enter a second verification code, typically sent to their mobile devices, in addition to their password.
- Go to Control Panel > Security > Account, then enable 2FA and follow the setup instructions.
By managing user accounts and setting appropriate permissions, you create a secure environment where data access is controlled and monitored.
Integrating Backup Solutions and Ensuring Data Security
Data security is incomplete without a reliable backup strategy. Synology NAS devices offer multiple backup solutions to safeguard your data against loss or corruption.
-
Local Backups:
- Utilize Synology's Hyper Backup to back up data to an external drive or another Synology NAS. This tool supports incremental backups, reducing storage space and backup time.
- Configure shared folder backups to ensure critical data is regularly copied and retrievable in case of accidental deletion or hardware failure.
-
Time Machine Backups for Mac Users:
- Synology NAS supports Time Machine, Apple's built-in backup solution for Mac. To enable Time Machine backups:
- Create a shared folder designated for Time Machine backups.
- Go to Control Panel > File Services > SMB/AFP/NFS and enable AFP.
- In the Time Machine settings on your Mac, select the Synology shared folder as the backup destination.
- Ensure that Time Machine backups run smoothly by verifying the connection and monitoring backup status.
- Synology NAS supports Time Machine, Apple's built-in backup solution for Mac. To enable Time Machine backups:
-
Cloud Backups:
- Synology's Cloud Station integrates with various cloud storage services, such as Google Drive and Dropbox. This feature allows you to back up data to the cloud, providing an off-site backup solution.
- Set up cloud backups by navigating to Package Center and installing Cloud Station Server. Follow the configuration prompts to link your cloud account and define backup settings.
-
Snapshot Replication:
- For an added layer of data protection, use Synology's Snapshot Replication feature. This tool captures point-in-time snapshots of your shared folders, enabling you to restore data to a previous state.
- Configure Snapshot Replication by installing the package from the Package Center and setting up a replication schedule.
By integrating local, Time Machine, and cloud backups, you ensure comprehensive data security and quick recovery options.
In conclusion, setting up a secure file sharing system using a Synology DS218j and the SMB protocol is a straightforward process that significantly enhances data accessibility and protection. By understanding the capabilities of the DS218j, configuring shared folders, managing user permissions, and integrating robust backup solutions, you create a secure and efficient file sharing environment.
Synology NAS devices, like the DS218j, provide an excellent platform for both personal and professional use, ensuring data is shared safely across multiple devices. The combination of RAID setups, user management, and backup strategies offers a comprehensive approach to data security.
Whether you are running a small business or managing personal data, the Synology DS218j, with its Gigabit LAN and support for various file protocols, stands as an optimal choice for secure file sharing. Explore the potential of Synology's DiskStation and create a reliable file sharing system that meets your needs and exceeds your expectations.